Introduction
There are many times when adding in a two-piece koana is important. The brims of hats and filling out the pa of a hat after constructing the piko are good examples. Circular table mats are also beautiful articles which need the adding in of koana.
It is my understanding that when adding in, one must always have pairs, one moe and one ku. This is necessary to maintain symmetry in the final product. That is you need an equal number of moe and ku when you come to the edge of a hat brim in order to finish in an orderly manner.
Adding in a Two Piece Koana
In this tutorial weʻre going to show how to add in two koana, one after the other. You can find this type of add in commonly on hat brims. Itʻs most useful when all the koana are two colors – that is one of them is dyed to provide contrast. If you are studying with a kumu ulana, itʻs entirely possible the he/she will not have the same way of doing this. Thatʻs ok and will provide a topic for discussion…
Weʻre going to use the lauhala weaving practice tool to show the add in process. Figure 1 below shows the starting point.
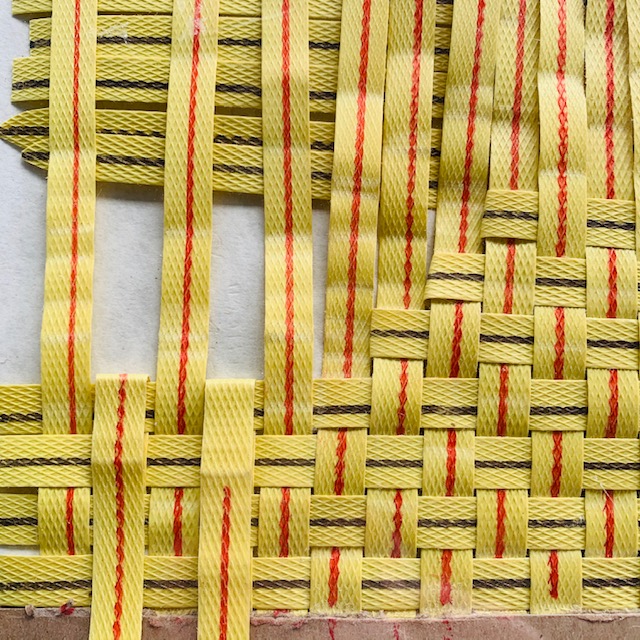 Figure 1. One way of beginning the add in process
Figure 2 shows the adding in of the new moe koana in green. You can see that itʻs tucked under a ku koana to hold it in place. Experienced weavers donʻt necessarily do this because of their manual dexterity.
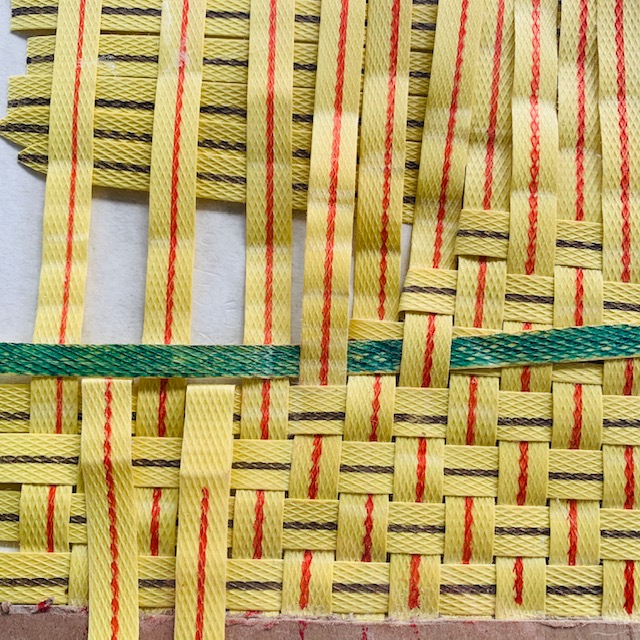 Figure 2. The moe koana (green) is added in from the right.
As we did in the tutorial on adding in a folded koana, we weave in the green moe koana before going further ( Figure 3 ).
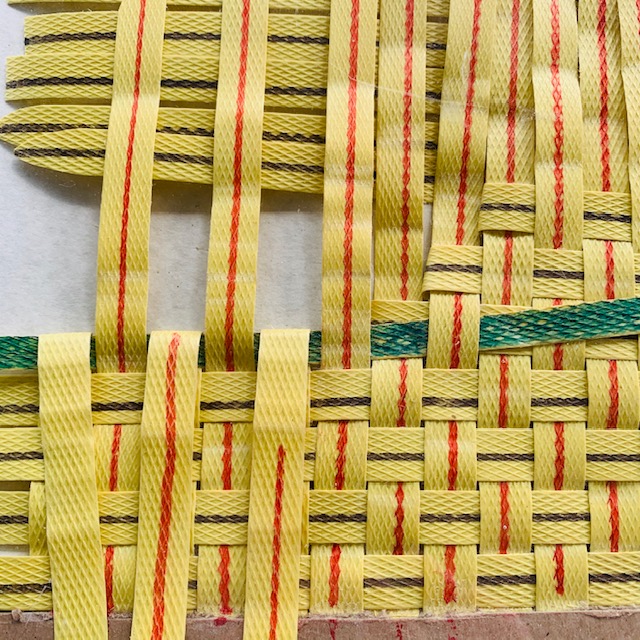 Figure 3. The green moe koana is woven in.
Figure 4 shows the insertion of the new ku koana (red). Like the green koana, Iʻve tucked in under a moe to keep it from wandering.
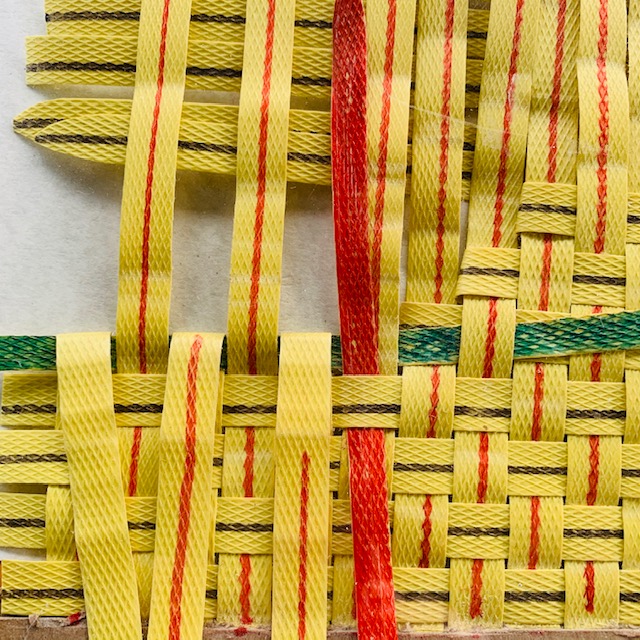 Figure 4. The new ku koana (red) is inserted from below.
Figure 5 shows the ku koana to the right of the red koana folded down then the next moe koana folded over and ready to weave in.
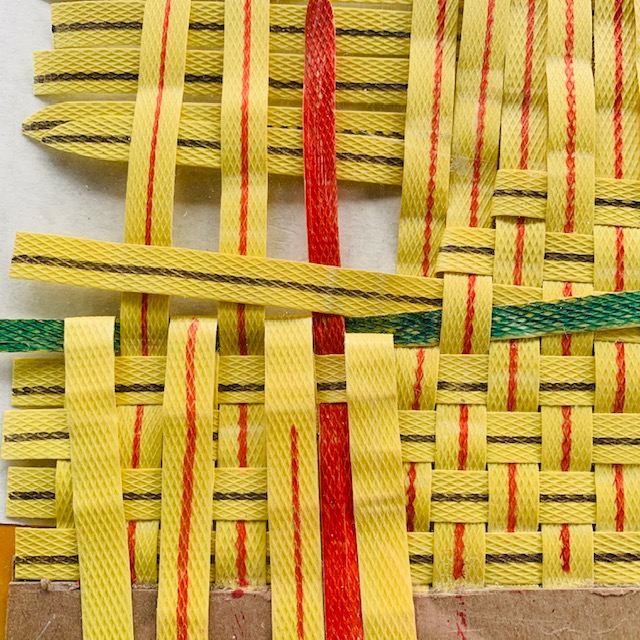 Figure 5. The ku koana to the right of the red ku koana is folded down and the next moe koana is put in place for weaving.
Figure 6 shows the moe koana (above) woven in. At this point all of the ku koana are correctly oriented for normal weaving.
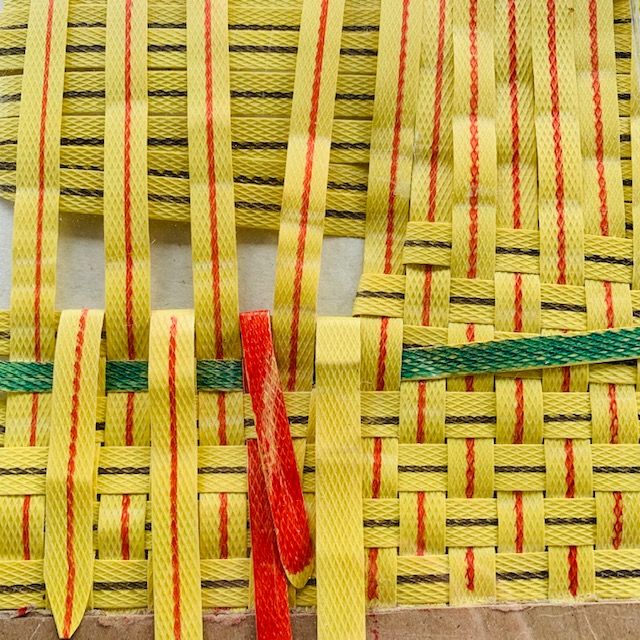 Figure 6. The next moe koana (above) is woven in.
Figure 7 shows the next moe koana folded over and woven in to the matrix.
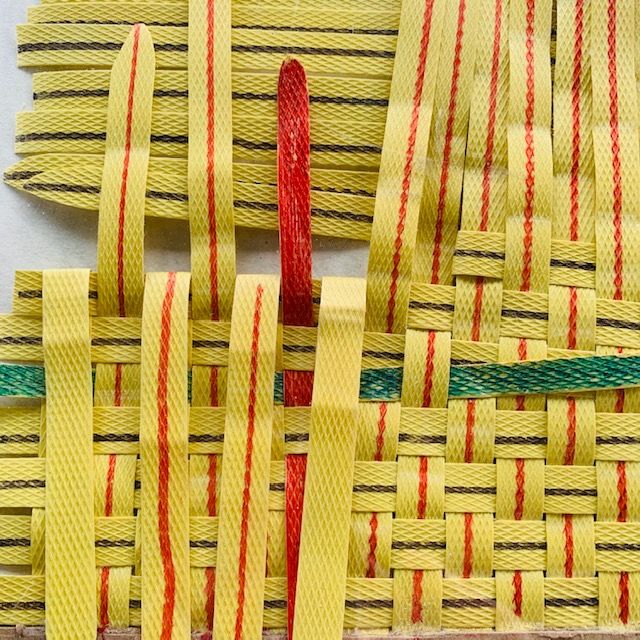 Figure 7. A second moe koana is lain down and woven in.