Introduction
The two most basic weaves generally found in Hawaii lauhala weaving are check plait (maka moena) and twill (maka ‘o’eno). Our first two projects used the check weave. Now it’s time to try another style, twill. Twill weave is often found on higher quality Hawaiian hats, sometimes interspersed with even more complicated weaving patterns. Like check weave, twill appears to have been around nearly as long as people have woven items for personal use.
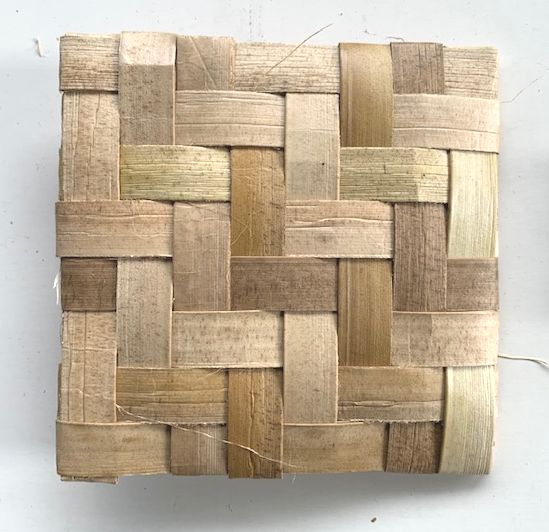
In this project we’ll make another “pocket” trivet and put cardboard inside for additional insulation. Here’s what the finished project will look like:

We’ll begin by using the same general approach as Project 1 and Project 2. That is, we put down tape and put the eight koana on the tape. But this time several things will be a little different. First, instead of putting the middle of the koana on the edge of the tape, we’ll measure 2″ back from the middle fold, fold the koana and put that fold on the edge of the tape. Second, we’ll do all the first part of the weaving (all eight cross strips) without changing the position of the tape. Third, we’ll weave upward instead of downward because I think it will be easier to see the twill weave pattern that way.
Beginning the Weaving Process
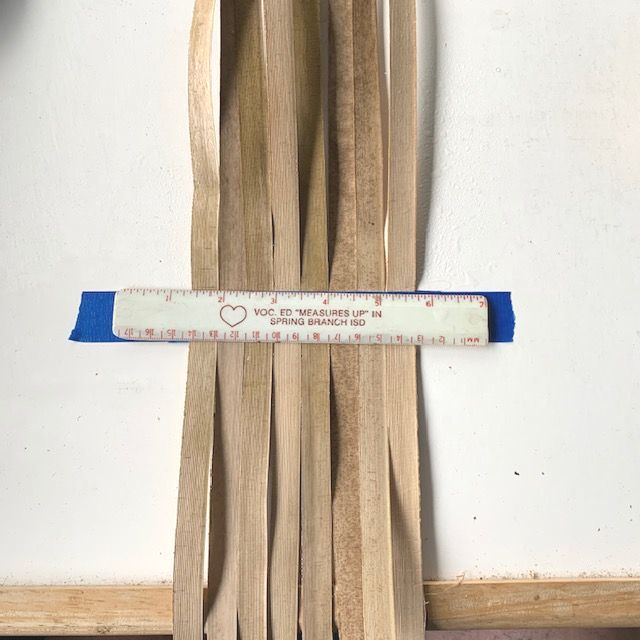
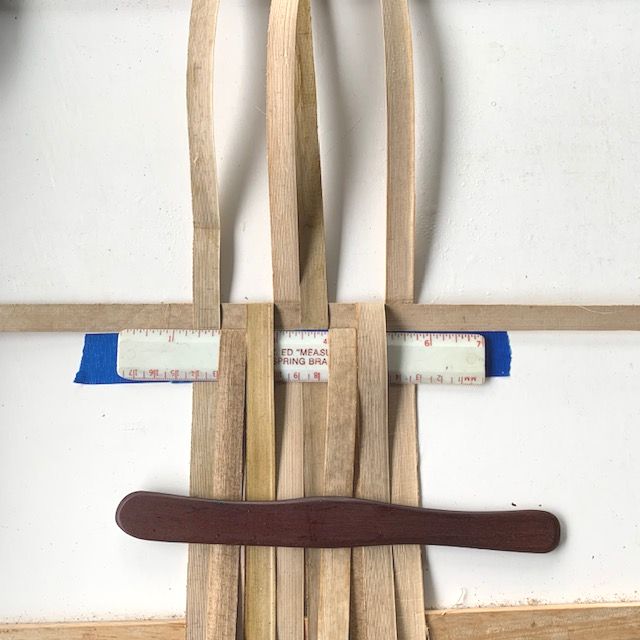
OK, so the picture below shows all eight vertical koana in place with both the top and bottom tapes. The ruler is on top of the tape to shield it from the water spray so that it won’t become soft.
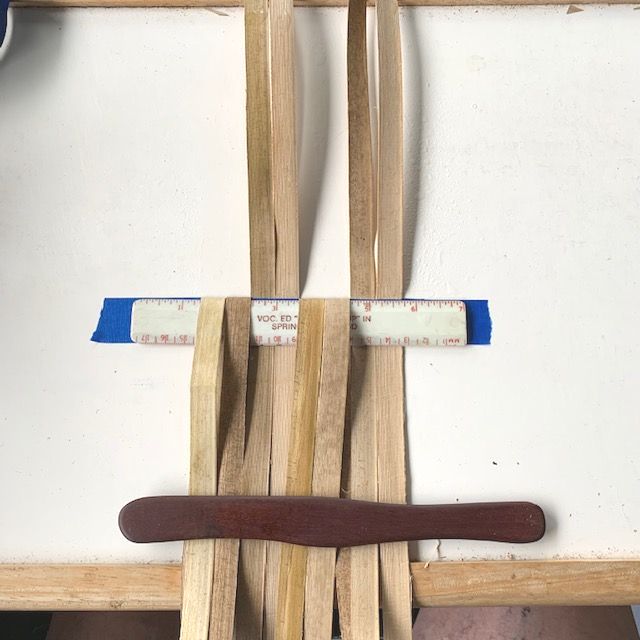
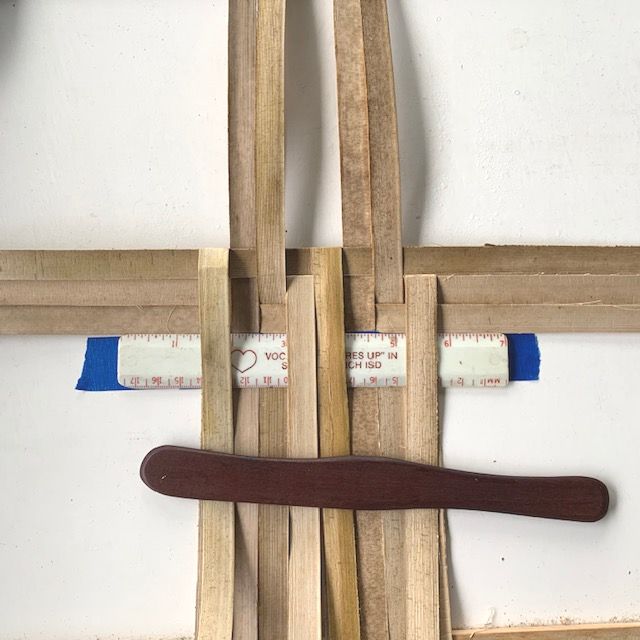
We now fold down two pairs of koana as shown below.
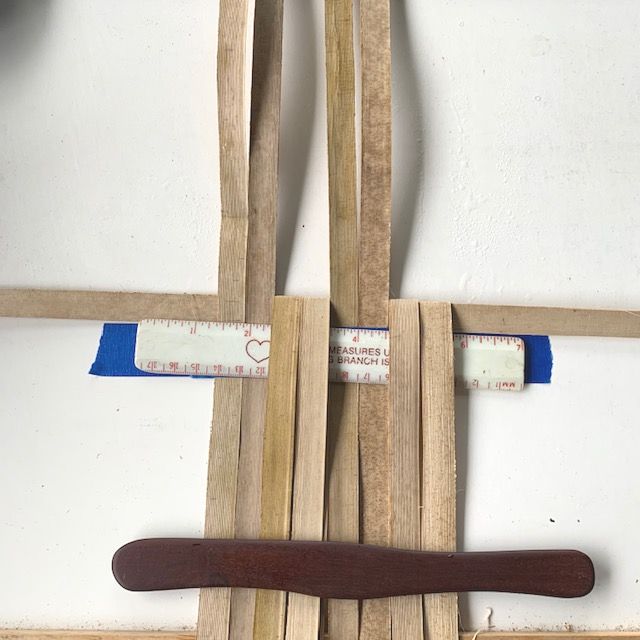
And then place the first horizontal koana and fold down two pairs again.
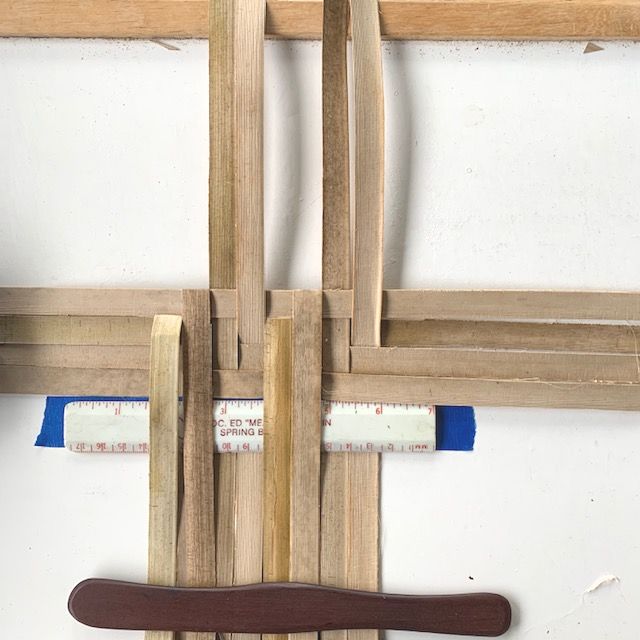
Now fold down two of the koana and then fold two others up.
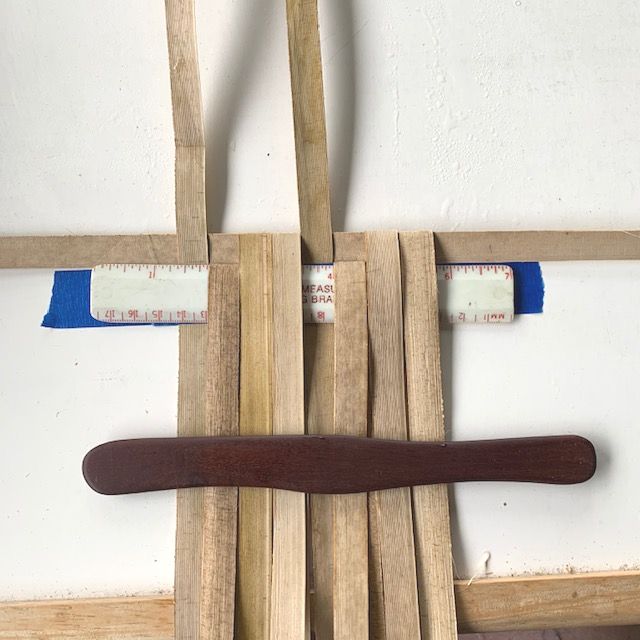
At this point we have initiated the twill sequence. This type of twill pattern repeats in columns of four. You will hear weavers saying “Two up, two down” and looking at the photo below you can see now what they mean. There are two “steps” and two “columns” in the sequence. When you add another row, you must maintain that pattern. Here’s the next row.

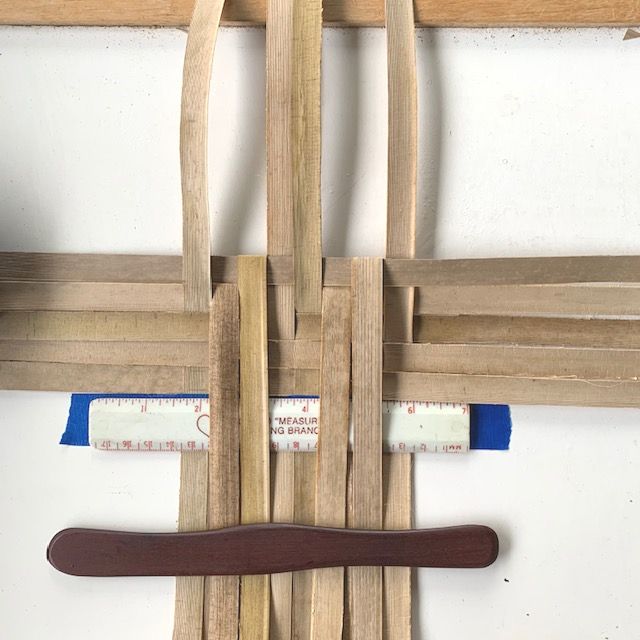
Compare the two pictures immediately above carefully. The bottom “step” has been folded up to become a column. The former top “step” becomes the bottom “step”. The column next to the step has been folded down to become the top “step”. The sequence continues shifting to the right as you keep adding rows as shown below.
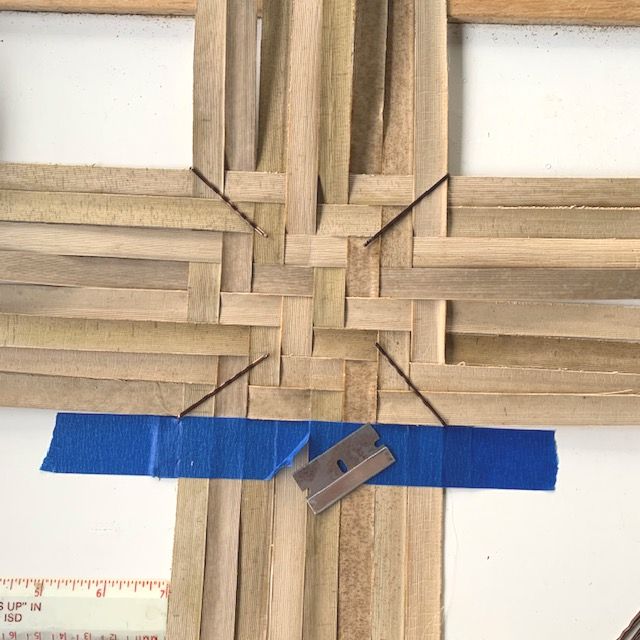
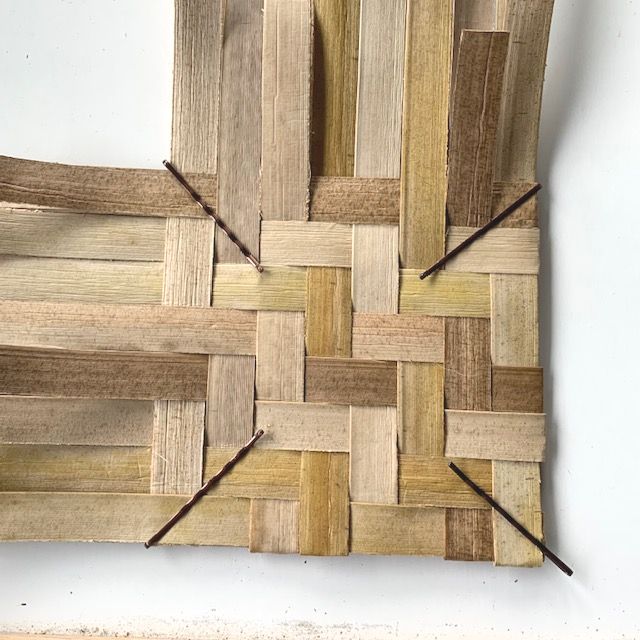
Until you have finished all eight rows and are ready to pin the corners. Carefully cutting the tape in the center with a single edge razor blade allows easy removal.
Starting the Other Side and Creating the Pocket
To begin the pocket, we first fold two pairs of koana down as before and fold the right hand horizontal koana over.
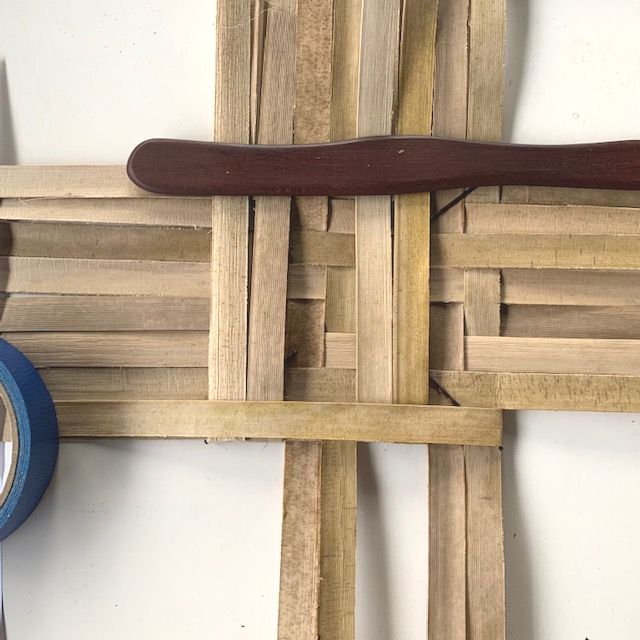
Then as before we initiate the twill sequence.

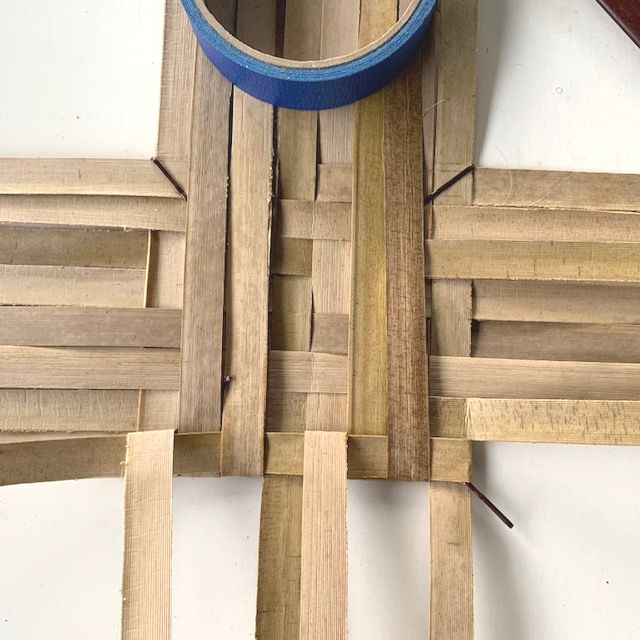
You can now see the two up, two down (steps and columns) pattern when the second row is completed. Now continue the weaving until you have filled in eight rows. Then weave all the right hand koana to the left.
Then trim the ends.
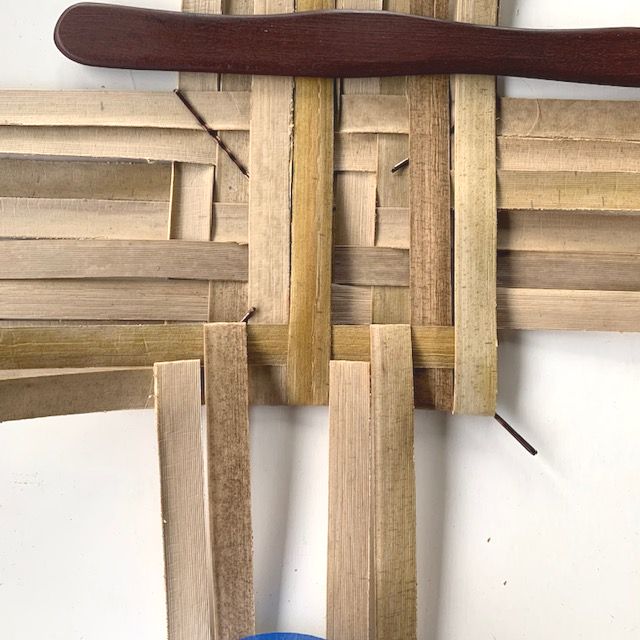
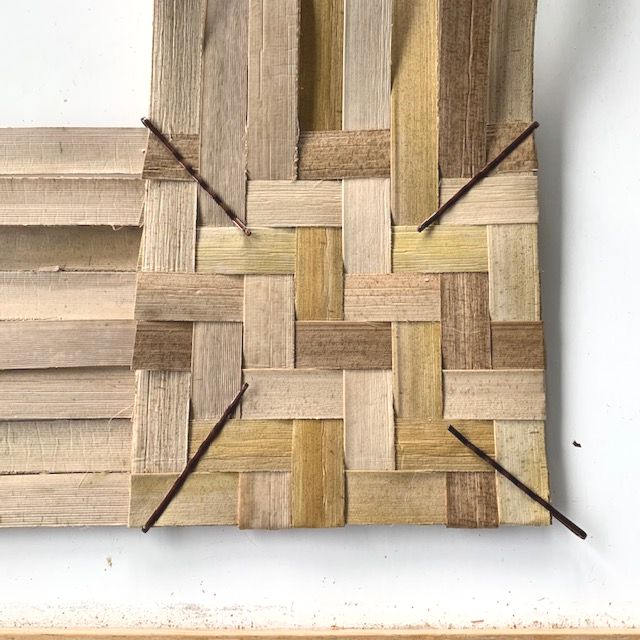 Figure 17. Ends of right to left woven koana trimmed off at left edge
And weave all the left hand koana to the right.
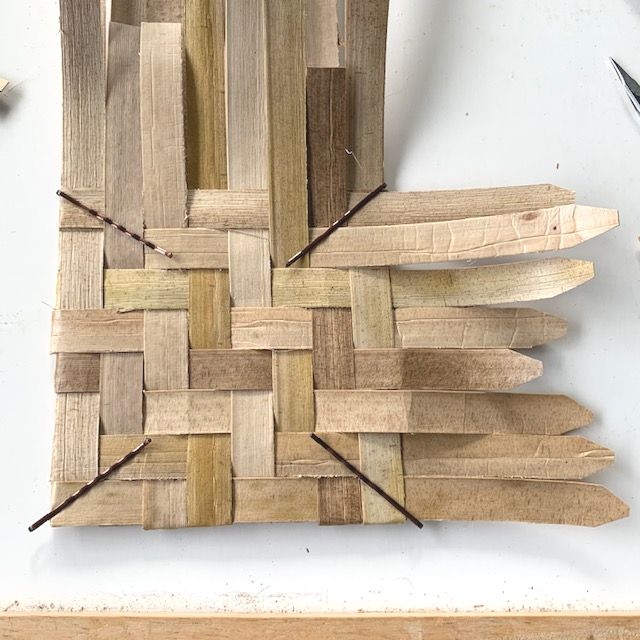
Cut a square of cardboard that’s 1/4″ smaller in both directions and round the corners.

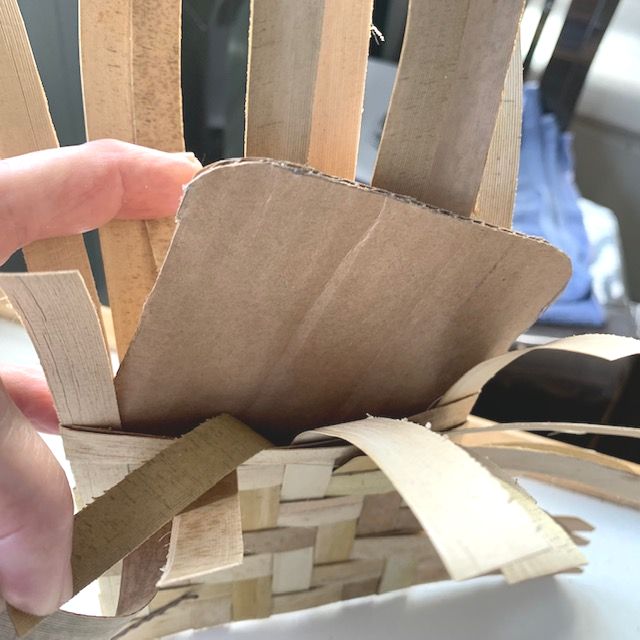
Insert carefully into the pocket making sure that there is no interference among opposing koana.
Closing the Pocket
At this point it’s time to begin closing up the pocket. I begin from the top with the sides. The easiest thing to do is to clip off the ends of the bottom koana like you did early when you wove from left to right. See figure below

Some of the koana will extend beyond the bottom edge. You can continue weaving on the front side if you wish or clip where they extend from underneath a koana pair.
Now continue weaving with the rest of the koana until you have the thickness of the trivet that you wish.
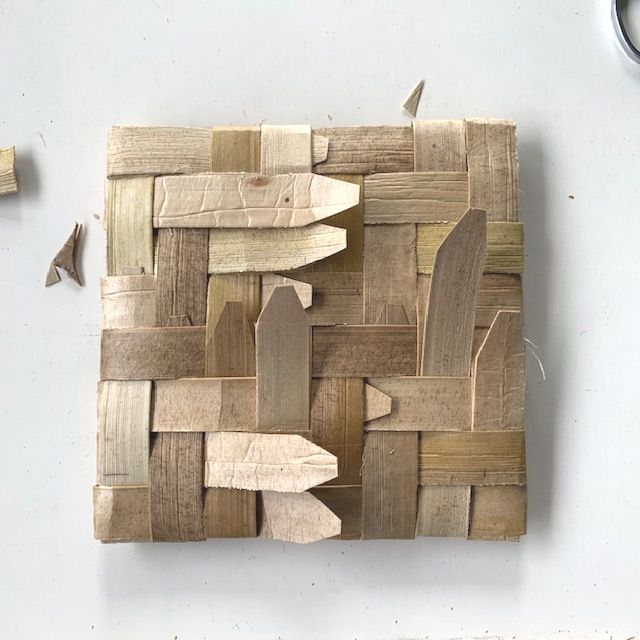
Trim the ends as neatly as you can either with a pair of small scissors or a single edge razor blade. Below is the finished trivet.
This has been a exercise in learning how to begin and continue the twill weave. Since you now know how to do both the check and twill weaves you can make a larger trivet with check on one side and twill on the other if you wish or any combination of check and twill on a single side.