Introduction
At this point you’ve gathered, de-thorned, softened and rolled your lauhala into one or more kuka’a for storage and waited a week or so. Now it’s time for cutting lauhala strips (koana). There are two basic approaches to cutting strips or “stripping” the leaves as described in the Bird et al. book, Chapter 2.
Using a Pin Stripper to Cut Lauhala Strips (koana)
One approach uses one or more sharp objects like #7 needles set in a wood framework. When in use, press the needles through the lauhala into a soft material such as a towel or piece of carpet. Then pull the lauhala from base to tip. The needles follow the grain of the lauhala.See the wooden block showing the two pieces of wood and needles below.
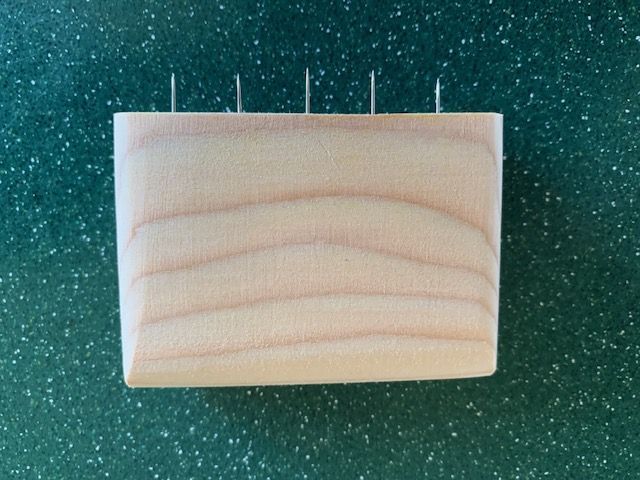 A pair of wooden blocks glued together, holding 5 needles 1/2″ apart.
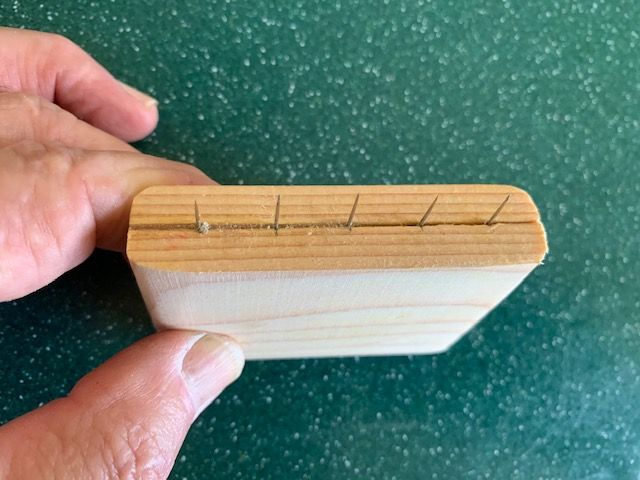 The same pair of blocks at a different angle.
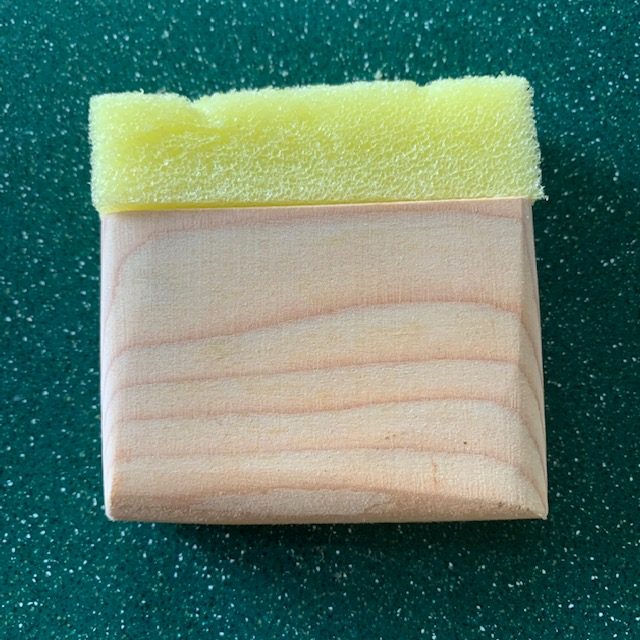 It’s a very good idea to cover the pins with a foam block when not in use.
 Here is the pin stripper with a piece of lauhala resting on a carpet remnant.
 The pins have been pushed through the lauhala and are supported by the carpet.
 The piece of lauhala is being pulled toward the user and the pins are following the grain of the leaf.
It’s important to remember that the needles aren’t really that strong and DO need support during the stripping process. It’s also good to use the other side of the carpet. Sometimes one works better than the other so please feel free to experiment.
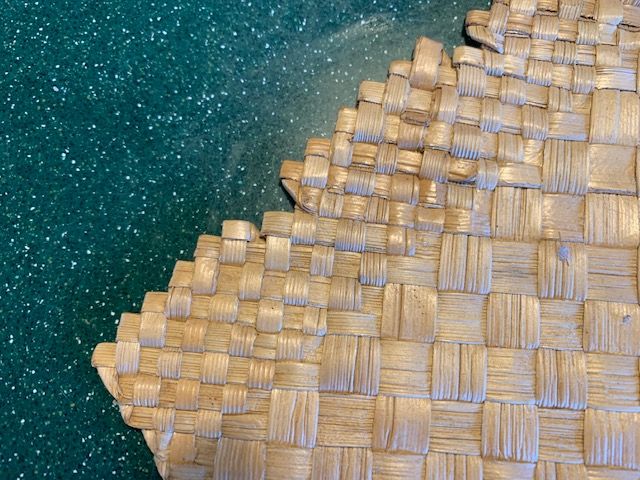
Using the pin splitter is a very good approach if you think that partway during the weaving process that you’re going to split the strip in half and continue with a finer weave as shown below.
It’s necessary to make a separate pin stripper for each koana width, but when that’s done they’re always there ready to use.
Using a Box Stripper to Cut Lauhala Strips (koana)
A second approach uses small knives such as X-acto #11 blades set in a holder. The advantage of this approach is that the cutters cut a little more smoothly than the pins. Also if you stray from the grain of the leaf a little, the koana are still uniform in width. It’s very easy to control the width of the koana by inserting the spacers of the width that you want. There are many styles of this type of cutter, one of which is below. I used the plan from from Bird et al. chapter 2.
Personally, I prefer the box type stripper in that it’s easier for me to pull the lauhala toward me when doing the stripping. Also, I find the box stripper more stable during use.
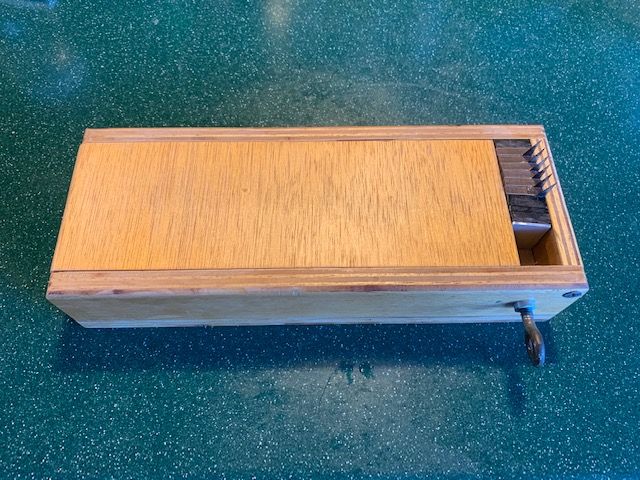 Stripper box made after the Bird et al. diagram.
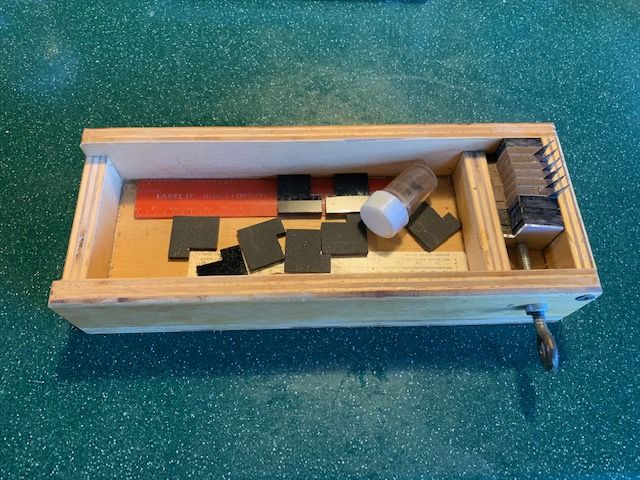 Box with lid off showing storage area for ruler, blades and spacers of different widths
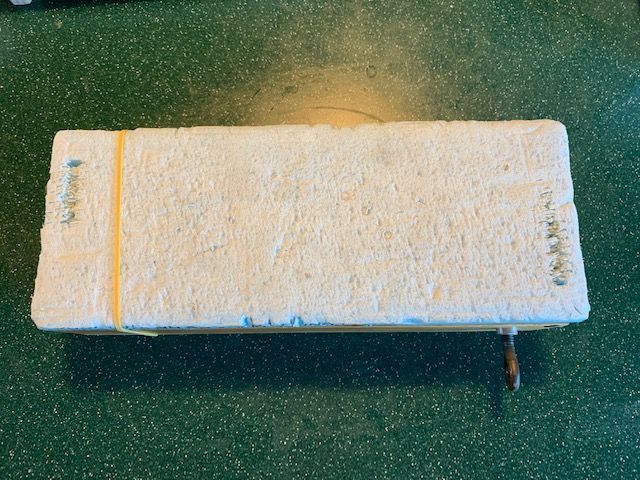 Box with foam safety lid in place covering X-acto blades.
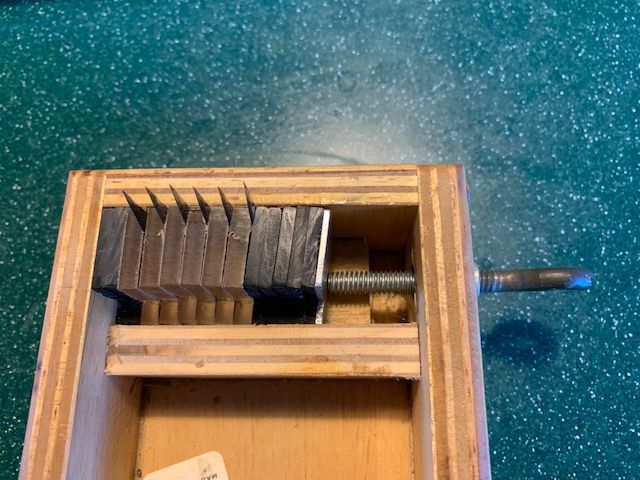 Close up of box stripper with blades facing toward the back of the box.
When using the box stripper, I usually either put something underneath it to keep it from sliding or brace the front edge against a ledge on the table (see below).
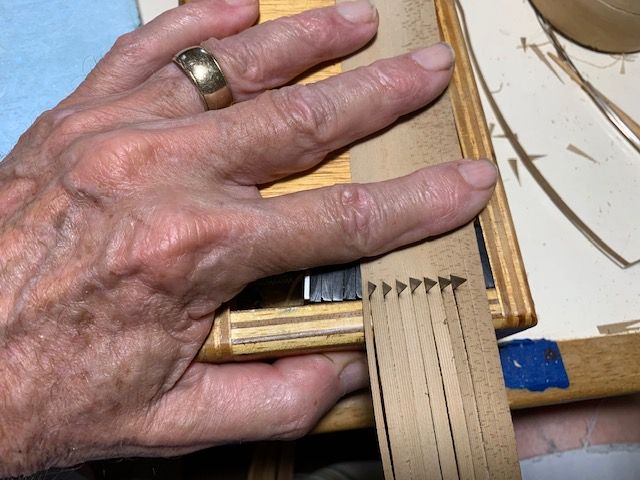 Bracing the cutter against the table ledge (under my thumb); pressing down on the lauhala in front of the forward edge of the blades to keep the koana from riding up the blades.
The lauhala piece is gently but firmly positioned by pushing down so that the knives are positioned where you want to begin. I then pull the lauhala strip 6-8″ at a time until I’m finished with that piece. It is usually necessary to angle the lauhala piece in order to cut straight koana. Then I use the pin dowel, mentioned earlier for thorn removal, to remove unwanted outside strips.
Other strippers can be found for sale on Etsy.com ( https://www.etsy.com/search?q=lauhala%20stripper ).
I enjoy writing these pages and hope that they are interesting and useful to the reader. I’ve stopped weaving/building at this time and still need to generate some income in order to continue to expand this website with more useful articles. If this page was helpful to you and you would like to make a $10.00 donation in order to have more pages like it, please use the donation button below. Thank you.